Our website is no longer active
but if you have any questions, please text 213-447-2090
but if you have any questions, please text 213-447-2090

To make the t-shirt you’ll need:
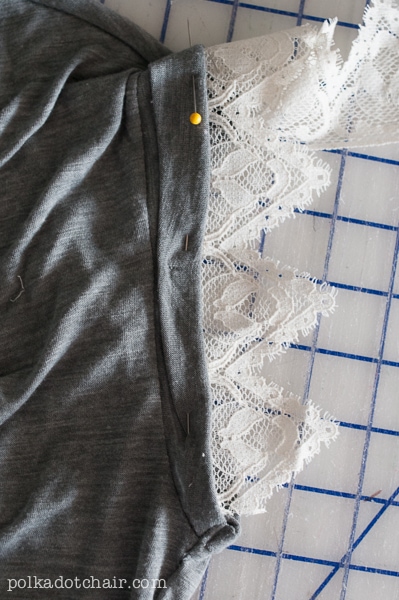
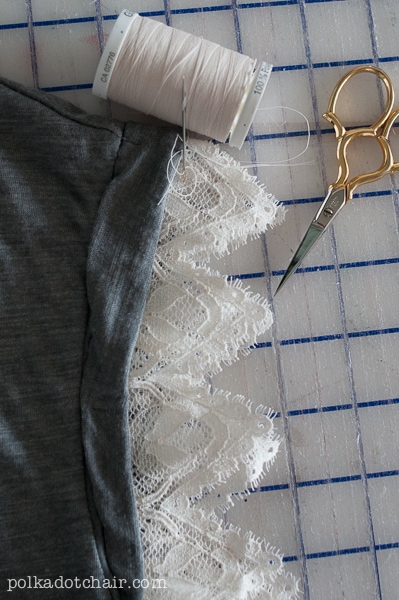
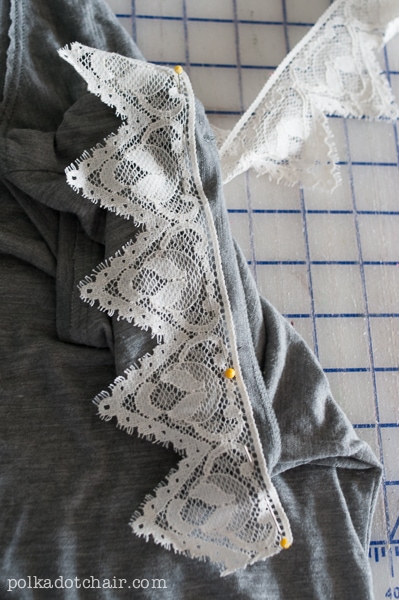 Make small stitches all along the top of the lace all the way around the sleeve. I stitched through the top row of lace detail. Double check your work as you go to make sure that your stitches don’t show through to the front of the sleeve.
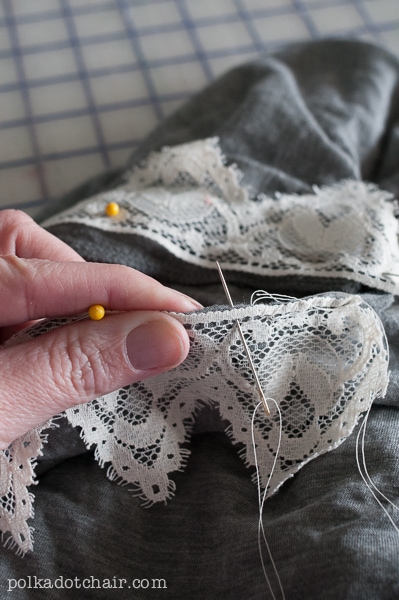
I hope you enjoyed today project! I’d love for you to come and say hello sometime! I’ve got HUNDREDS of free sewing tutorials over on my blog.